In this tutorial, we show you step by step how to:
- Setup your Project
- Create an API Key
- Use the Patch Builder
- Deploy your first patch
- Distribute your Patch
When you are ready to get started, just click the button.
First navigate to the API Key page in your dashboard.
Once you’re there, type a Label into the box and click Generate API Key.
This will be your unique API key that accesses your account from external applications. You should try and keep this safe and try not to reveal this key to anybody outside of your organisation.
Now head over to the Select Project page in your dashboard.
You need to create a project. This will be the configuration for your game/app. Type in the Game or Application name and a project slug will be automatically generated for you.
Click Create Project.
Once you have created the project, it will auto-load into the dashboard, so all the settings you modify from here on out will be for this project. So let’s get to setting the project up.
Here you configure your patch settings. You can modify these settings at any time, even after your patch is live. Any changes you make here, will reflect in real-time across all your patch systems.
This is the name of the patchlist file. The patch builder by default, calls it patchlist.json. So you are probably best just using patchlist.json here.
The Patch Salt is some added security for your game’s checksum. You can enter anything here. It is recommended to treat it like a password. Create something unique between 8-16 characters long and use capital letters, underscores and numbers.
It is highly recommended to set this and leave it and never change it, as it can break your future patches. Only change it if you know what you are doing!
This will show the user a dialog to select a server, if you have more than one server in your server array. For this tutorial, we will be only using one server for our game files.
This defines how the files are downloaded from your server. For this tutorial and for the sake of simplicity, it is recommended to type default in here. This means every download will be cache busted.
It is very wise to use a custom file extension. You can write anything in here. We recommend to use PATCH
For this tutorial, we will use Use Patch Location. This means whichever directory the patch system is run from, the patch system will assume that is where the game is installed.
You can use any of the other options. We recommend you pack your first game build and patch system up into an installer and use the installer to write the installation path to the registry so you can get the patch system to auto-detect where the user installed your game to, for future patches.
When you are done here, click Save Patch Settings and then move onto Servers in your dashboard menu.
Click on Servers in the dashboard interface. Once on this page, click the Add New Server button to add your first server.
A dialog will popup asking you to enter details. Some of these are optional, some are mandatory.
Specify the name of this server, like US West or Germany. It can be anything you like really.
This is the location on your web server where the files are located. In our example, the folder containing the game files will be https://testserver2.byteboxserver.com/gamefiles/
You can set any folder, so long as it exists and is valid and is public, the patch system will reach it just fine. If you experience any issues with this, consult your web host provider.
Here you can specify an icon for the server. This is only really useful if you are using multiple servers. In this tutorial, we are using just one single server so we will skip this.
From here on outwards, if you want the Patch Builder to automatically upload your game patches, you will need to specify the FTP details here. If you do not wish for the Patch Builder to upload your patch for you, you will only need to provide the FTP HOST here, no username or password required.
For this tutorial, we want the Patch Builder to automatically upload our game patch for us, so we will specify the FTP Host. In this example it is testserver2.byteboxserver.com. You will have to change for your domain or whatever FTP details your host has given you. This is the hostname. Some hosts work like ftp.mydomain.com. Again, check with your host provider if you are unsure.
Most servers run on port 21, so 21 is sufficient here. However some hosts may change this so it’s best to double check with your host if you experience problems as they maybe using a different port number.
Specify your FTP username and password in these boxes.
Your details are encrypted when stored, so you never have to worry about these details being accessed by anyone else.
This is a very important step that you must get right. In our Patch Servers httpdocs represents the domain root. So for testserver2.byteboxserver.com like above, in the HTTP Download URL box, we replace it with httpdocs.
Some hosts use public_html instead of httpdocs. Basically, the patch system needs to know when using FTP, what the remote path is, serverside. If you are unsure, try httpdocs and public_html. If they both fail, contact your web host.
So you use httpdocs or public_html and then you stipulate the path to your game directory after that. In our instance it’s a subfolder called ‘gamefiles’ so our remote path is httpdocs/gamefiles/
Once you are happy with your server details you can click Save Server.
After this, you MUST ensure you click Save Server List so that you finish editing the servers and save the array to your LaunchBoost account.
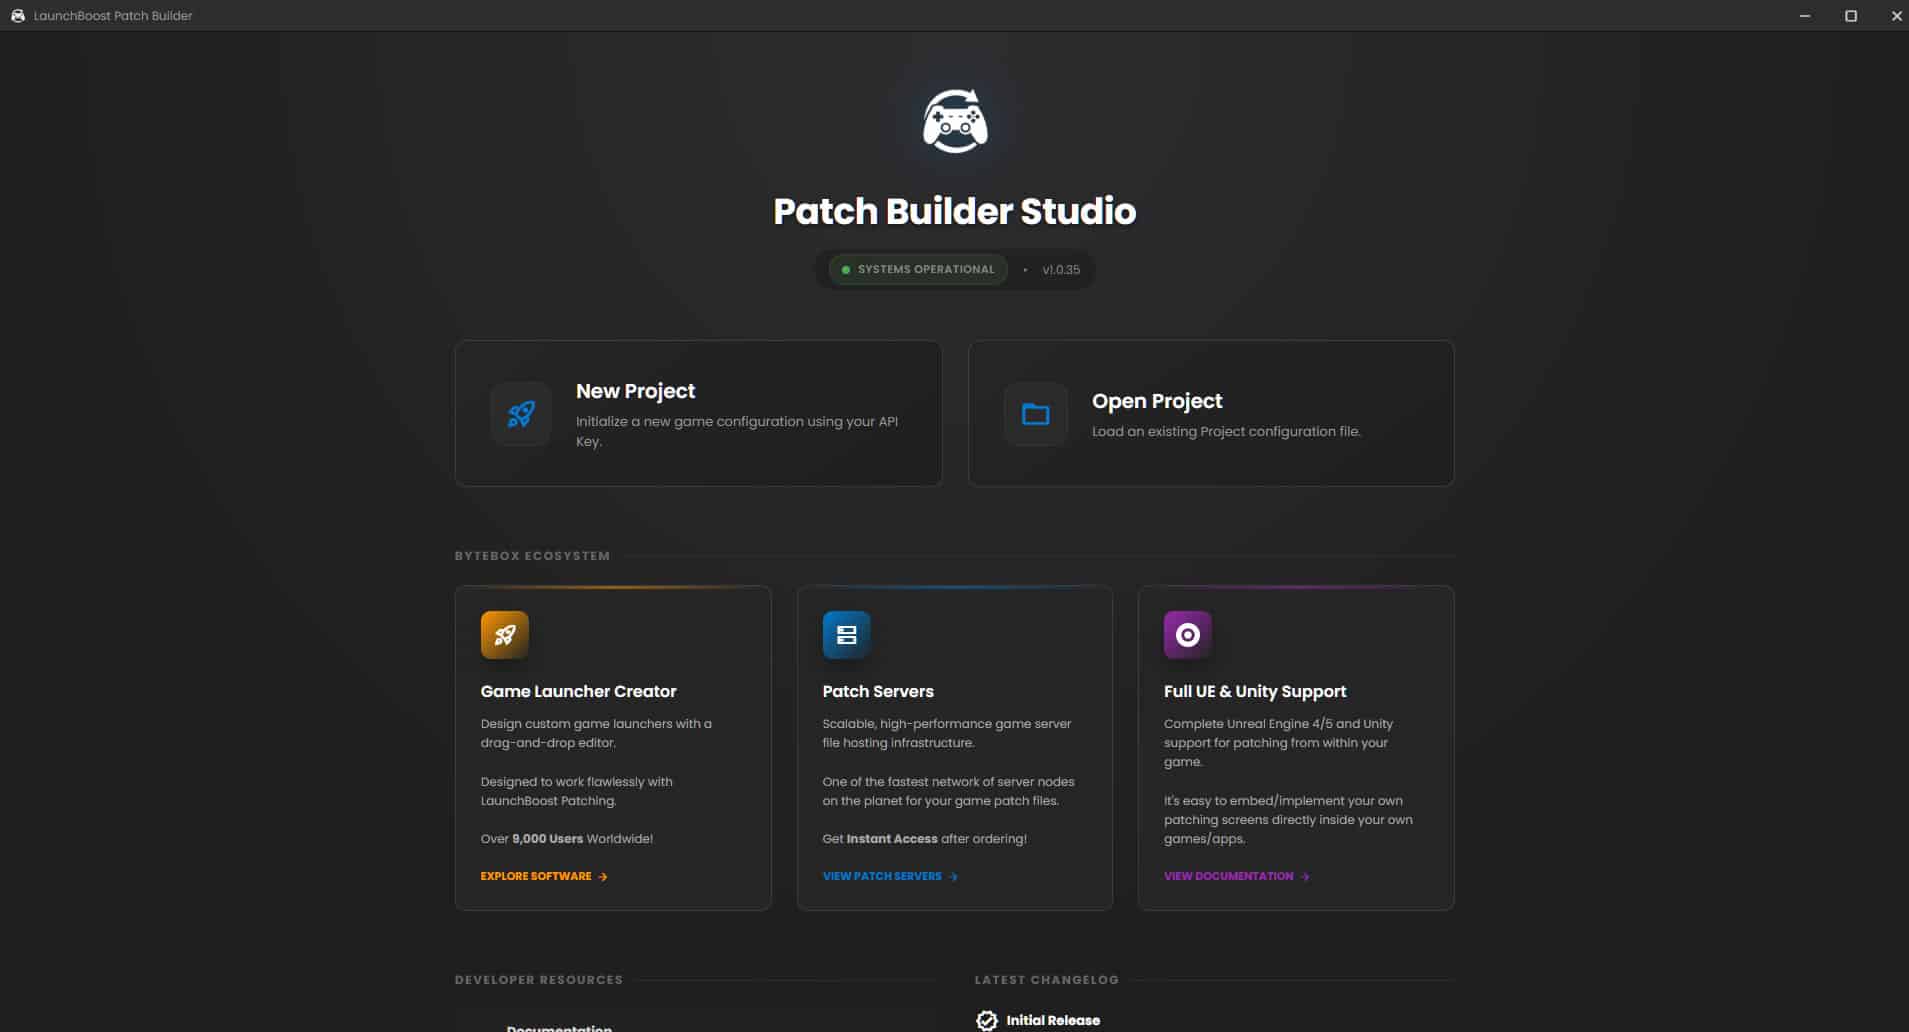
Now you need to download and install the LaunchBoost Studio application if you haven’t already. You can download it by clicking the LaunchBoost Studio link in your dashboard and inside there will be a link to the installer.
Download and install the LaunchBoost Studio to your computer. Once it has installed, you should see a new start menu folder (Programs > ByteBox Media > LaunchBoost) and click Patch Builder.
Once the application launches you should click Mb>New Project. A dialog will ask you for some details. So in here, you need to put your API Key from the dashboard into the API Key field and the exact project slug for this project. You can find the slug on the Select Project page in the dashboard.
Once you have these two in the dialog, set the initial version number.
Now, if this is going to be your very first release of your game, use 1.0.0. If your game has already been released for a while, use the actual build number here and start at that version.
NOTE: LaunchBoost only supports semantic versioning xxx.xxx.xxx these values can be as big as you like, but the version numbers must be in semantic formatting. If you use a different type of versioning internally, that’s ok, just write the closest semantic version in here. In reality, this number is only for your own internal versioning reference.
Once done, click the Verify & Save button. This should now create your patch project on your computer and you should be presented with the Select Build Source screen.
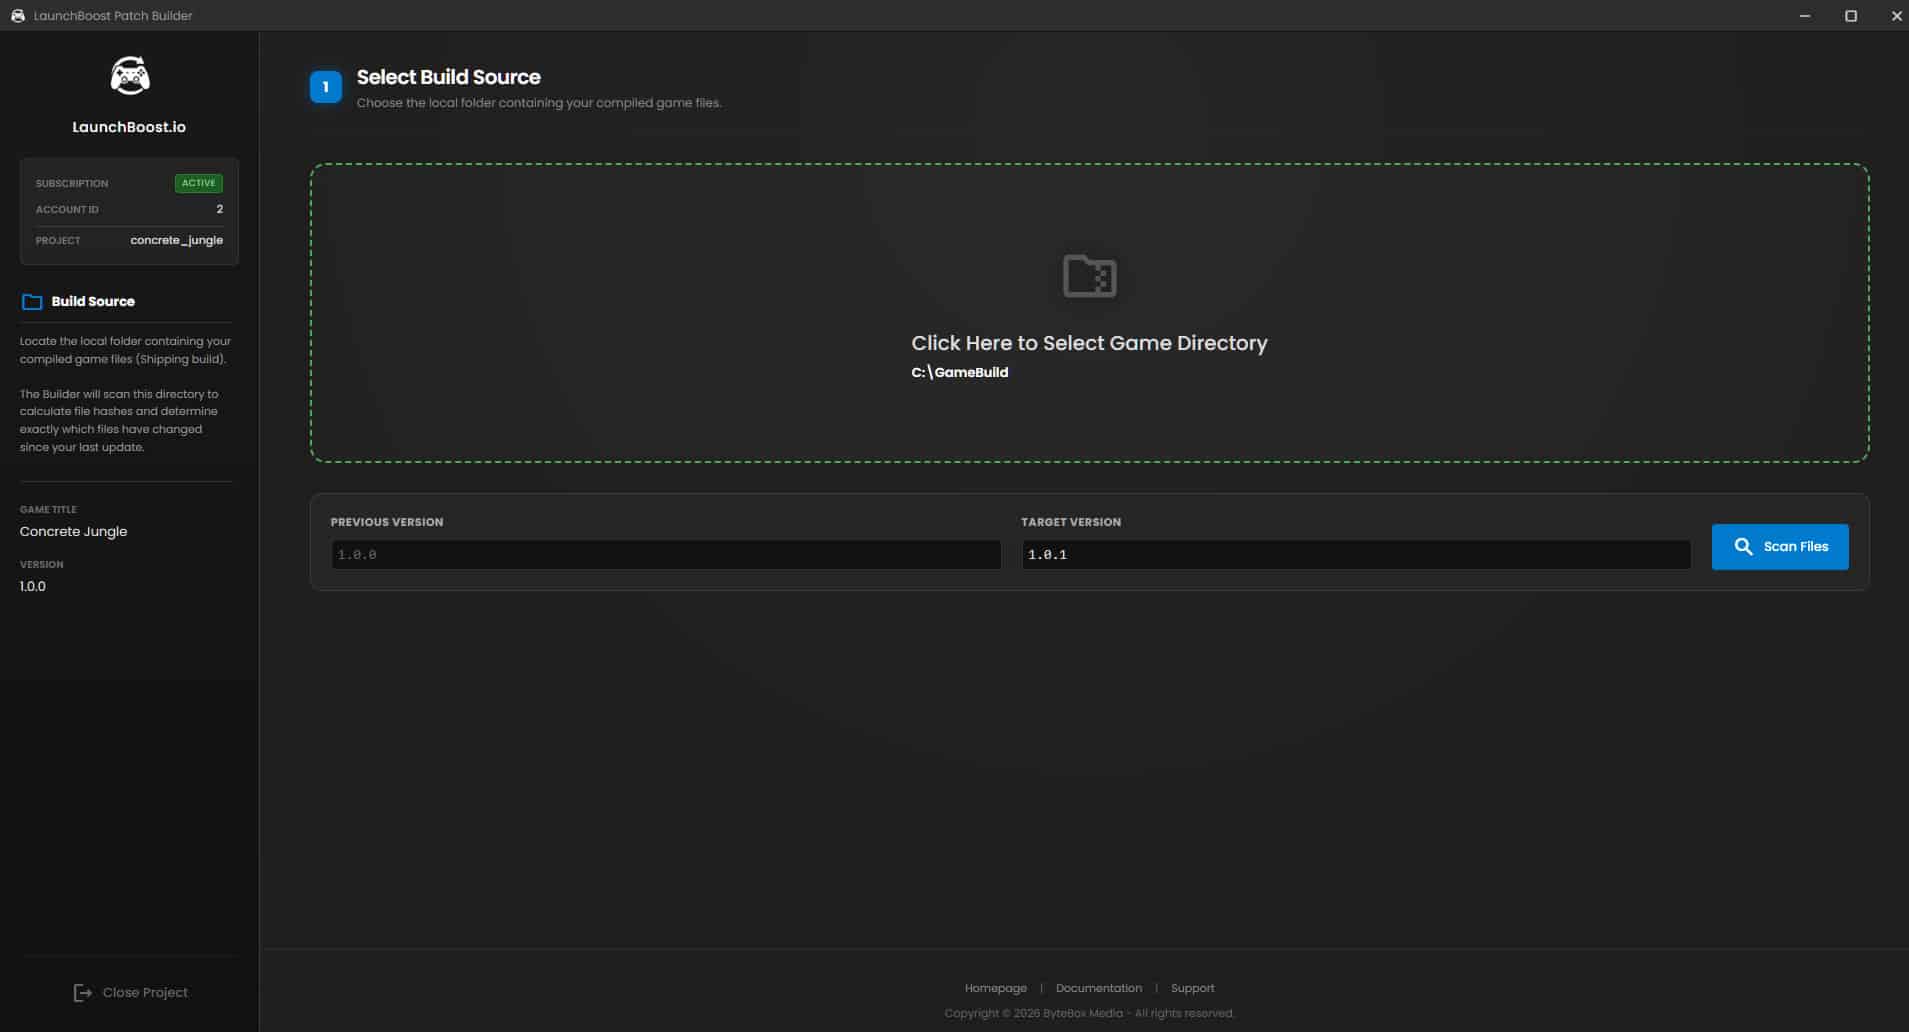
Once you see this screen, you should click to select your game directory. You need to locate the directory where your most recent game build is stored.
If you haven’t done it already, build your game out to a specific folder.
In this tutorial, we are using C:\GameBuild but we recommend you don’t use the C:\ drive root. Export or build your game to a Desktop folder for ease of use when it comes to permissions.
Then type in the target version. If this is your first build, just copy the previous version (ie: 1.0.0). This target version will increment itself every time you go to build a new patch, but you can always override it with your own target version numbers if you wish.
Once you’re done, click ‘Scan Files’ and the Patch Builder will begin to scan your game folder and make a list of all directories and files in there.
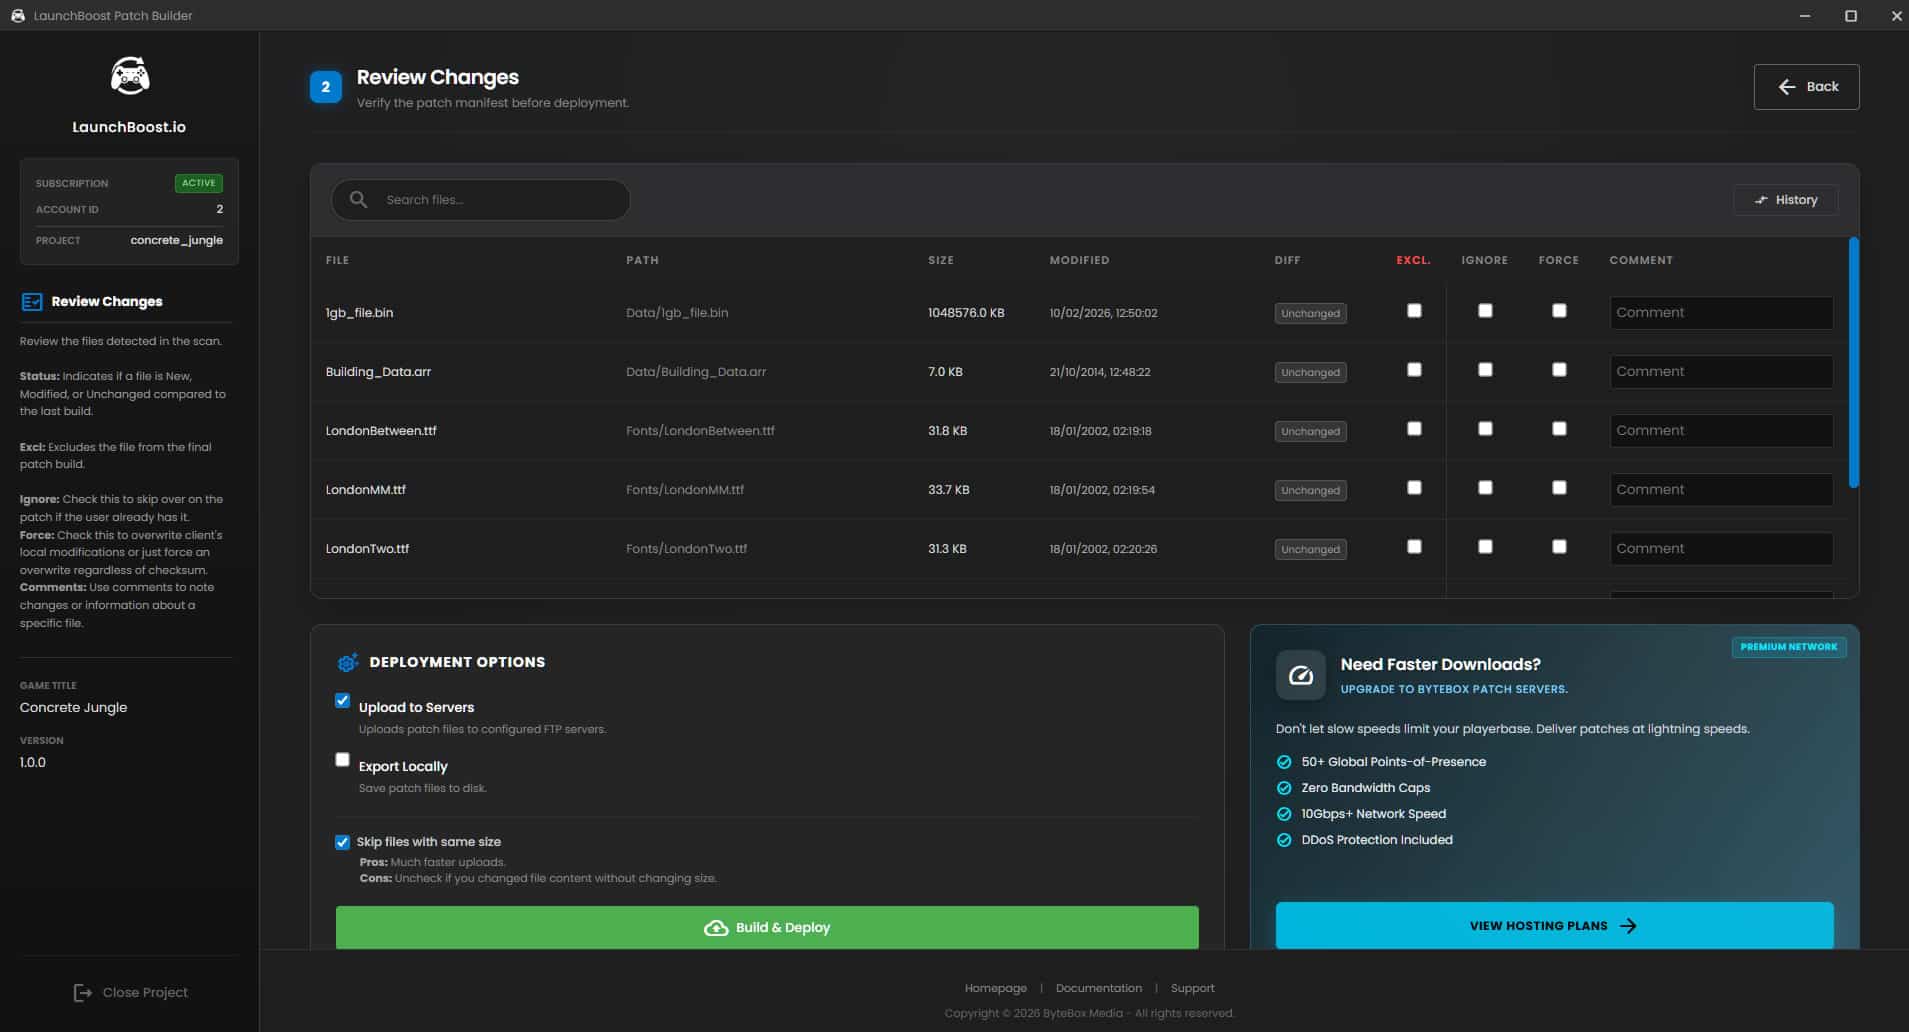
Once the files have been scanned, you will be presented with the patchlist for your game. From here, you can make comments, give individual file instructions and view revision history (changes between versions).
If this is your first patch build, there will be no history to view. But as you build more patches/updates, the version history will be available.
So glance over the file list and select any appropriate options. Here are the descriptions.
Select this checkbox on this file to exclude it from the patch build. It will not be included in the patch build and will not be uploaded or built out.
Select this if you want to include the file in the patch, but if it exists on the user’s computer, regardless of checksum, ignore it. This is useful if you don’t want to overwrite a user’s settings or options file.
Select this if you want to ensure the file gets downloaded fresh and overwrites the one on the user’s computer, even if the checksums match. This is useful for example, if you ship anti-cheat files and want to ensure the integrity is maintained.
You can make comments on files too if you wish. This is good for internal notes.
Once you have reviewed your files and are happy with the patch build, you can look at deploying/building the patch. In the Deployment Options box you have a few settings.
This will instruct the patch builder to build the patch and automatically upload it to your servers specified in the dashboard. This works with all those servers who have their FTP credentials specified.
This will build the patch out locally to a folder. Useful if you wish to upload yourself manually somewhere. This can be used together with Upload to Servers.
Select this to skip files that haven’t been modified. This generally gives much faster uploads for patch builds. Be cautious if you changed a file and the size remained the same though. This is at the byte level. You can compare using the “History” button above the patch list.
For this tutorial, we skip export locally and just select “Upload to Servers”. Click the Build & Deploy button to build the patch.

When the patch is being deployed, you will be presented with a Build Console output. This gives you real-time, up to date information on how the patch build is going.
You can sit back and relax whilst the LaunchBoost Patch Builder does all the work for you.
Once this completes successfully, you can move onto the next step.
If there are any errors here, you can view the output in the window or click the View HTML Report button which will open up a detailed log report. It should be obvious in the report what the error is, we have written extensive build reporting. If you need any assistance with this, feel free to ask inside our Discord server.
Once your first patch has been built successfully, you can now distribute your patch executable and launch it whichever way you want to.
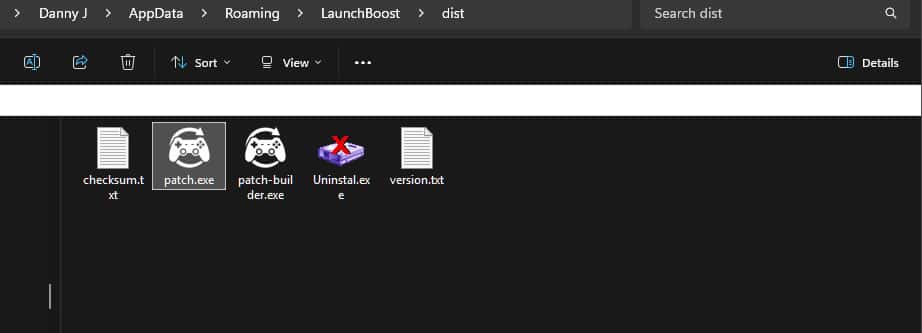
If you are using Game Launcher Creator you need to use the LaunchBoost.io Plugin, configure it then build your launcher. Once you have built your launcher, go to %appdata%\LaunchBoost\dist\ folder on your computer and copy the patch.exe file and place it in your launcher folder.
If you are distributing this with your game or application, simply copy the patch.exe into your game directory.
Patch.exe is the executable you need to launch from wherever you decide you are running it from.
You need to send the command line arguments specified in the documentation here at LaunchBoost.