Creating your first project is easy. Follow this guide on how to set up your first patching project.
Create the Project
First login and access the dashboard and navigate to your projects here.
In the “Create New Project” box, type in the name of your game or application. A project “slug” will automatically be generated. You can modify this slug if you wish.
You must ensure the slug contains no spaces and no weird characters. Stick to just text and numbers only.
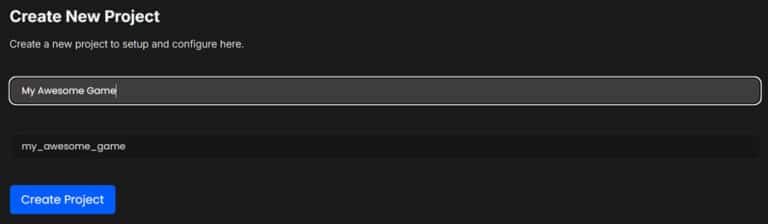
Click “Create Project”.
Once the project has been created, make a note of the slug.
Head over to the API Key page if you haven’t already generated one, generate an API Key.
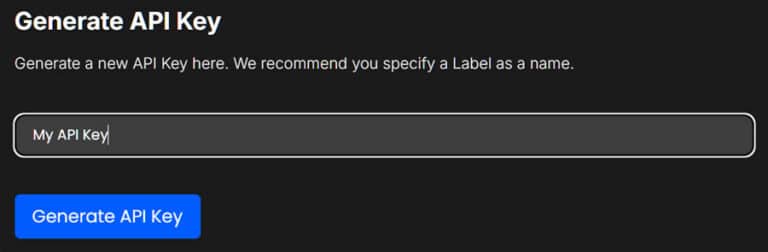
Once you have done this, make a note of the API Key.
You should now have your API Key and Project Slug to hand.
Next, after you have downloaded and installed the LaunchBoost studio, open up the Patch Builder application.
You should find a shortcut on your desktop and inside your start menu (under ByteBox Media) for the Patch Builder.